
Run your first scan
Add an asset, start a scan, and read what it found.
A scan runs against an asset, so the first step is telling Interopt what to test.
Add an asset
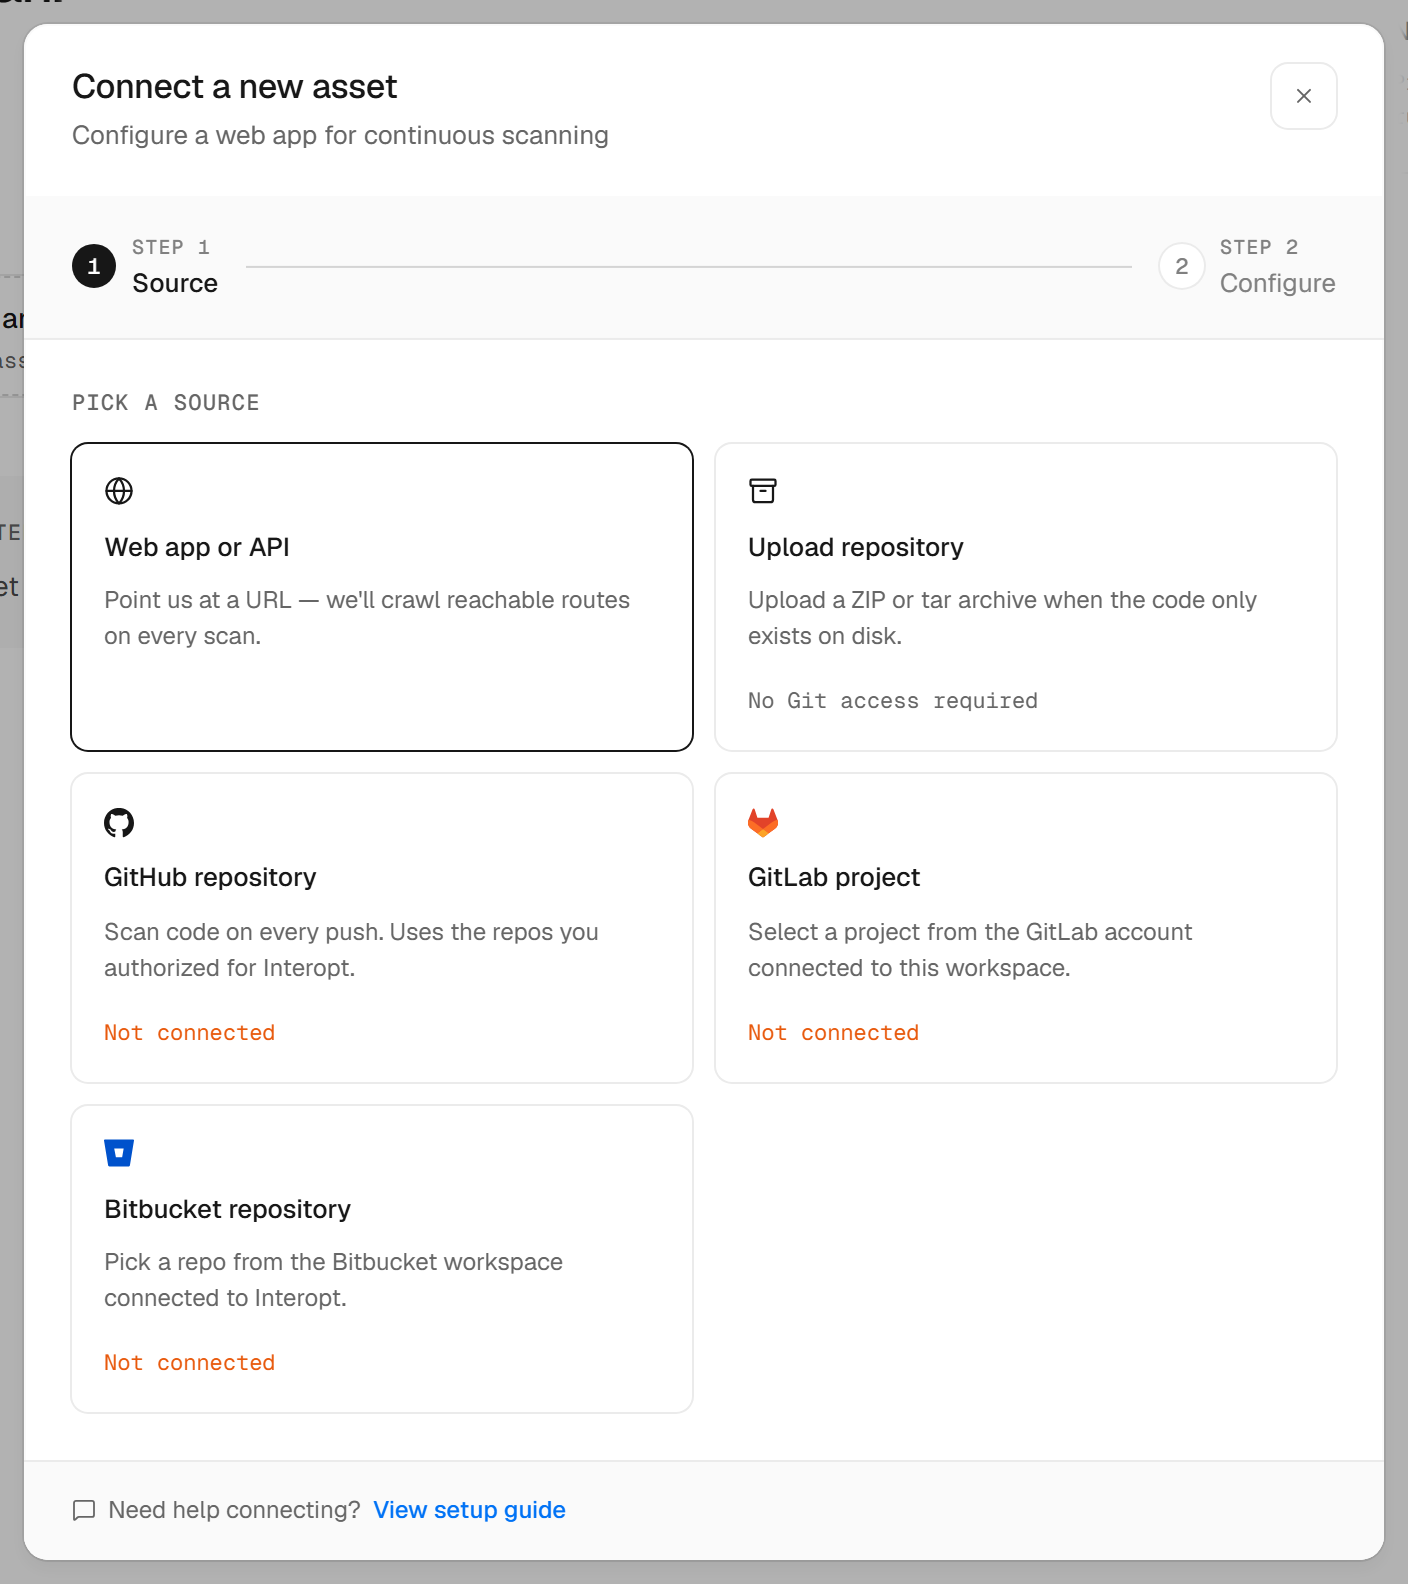
Open Dashboard → Assets, select Add asset, and pick a source:
- Web app or API — a URL. Interopt crawls the reachable routes on every scan.
- GitHub, GitLab, or Bitbucket — pick repos from a connected code host. See Connect a repository.
- Upload repository — a ZIP or tar archive, when the code only exists on disk.
Open the New scan form
Go to Dashboard → Scans → New scan and pick the asset under Target.
Choose a mode
Black box needs only a URL. Grey box adds credentials. White box adds source. For a first scan, pick the mode that matches the access you already have; see Scan modes.
Set scope and configuration
Confirm what is in scope and, for grey or white box, choose an auth profile. Leave depth on Deep for a first scan. The options are covered in Configure a scan and Authenticated testing.
Pick when to run
Run now for a first scan. Schedules and on-deploy runs can come later; see Scheduling.
Clear the way and confirm
Under Before you start, allowlist the listed scanner IP addresses through any WAF, CDN, or rate limiting in front of the target. Then confirm you are authorized to test it, and select Start scan.
Watch it run
The scan opens on its own page. The live session streams the agent through its phases: prerequisites, discover, scan, and report.
Read the findings
When the scan completes, open its Findings tab. Each finding shows what the scan saw and a suggested fix. Next: Triage and status.